Resource
Paver Block Installation Guide
A paver block surface is only as good as the base it's laid on. These five steps cover what happens between confirming the surface and sealing the finished job — the same process our team follows on residential, commercial and industrial installations.
Request a QuoteOn A Real Site
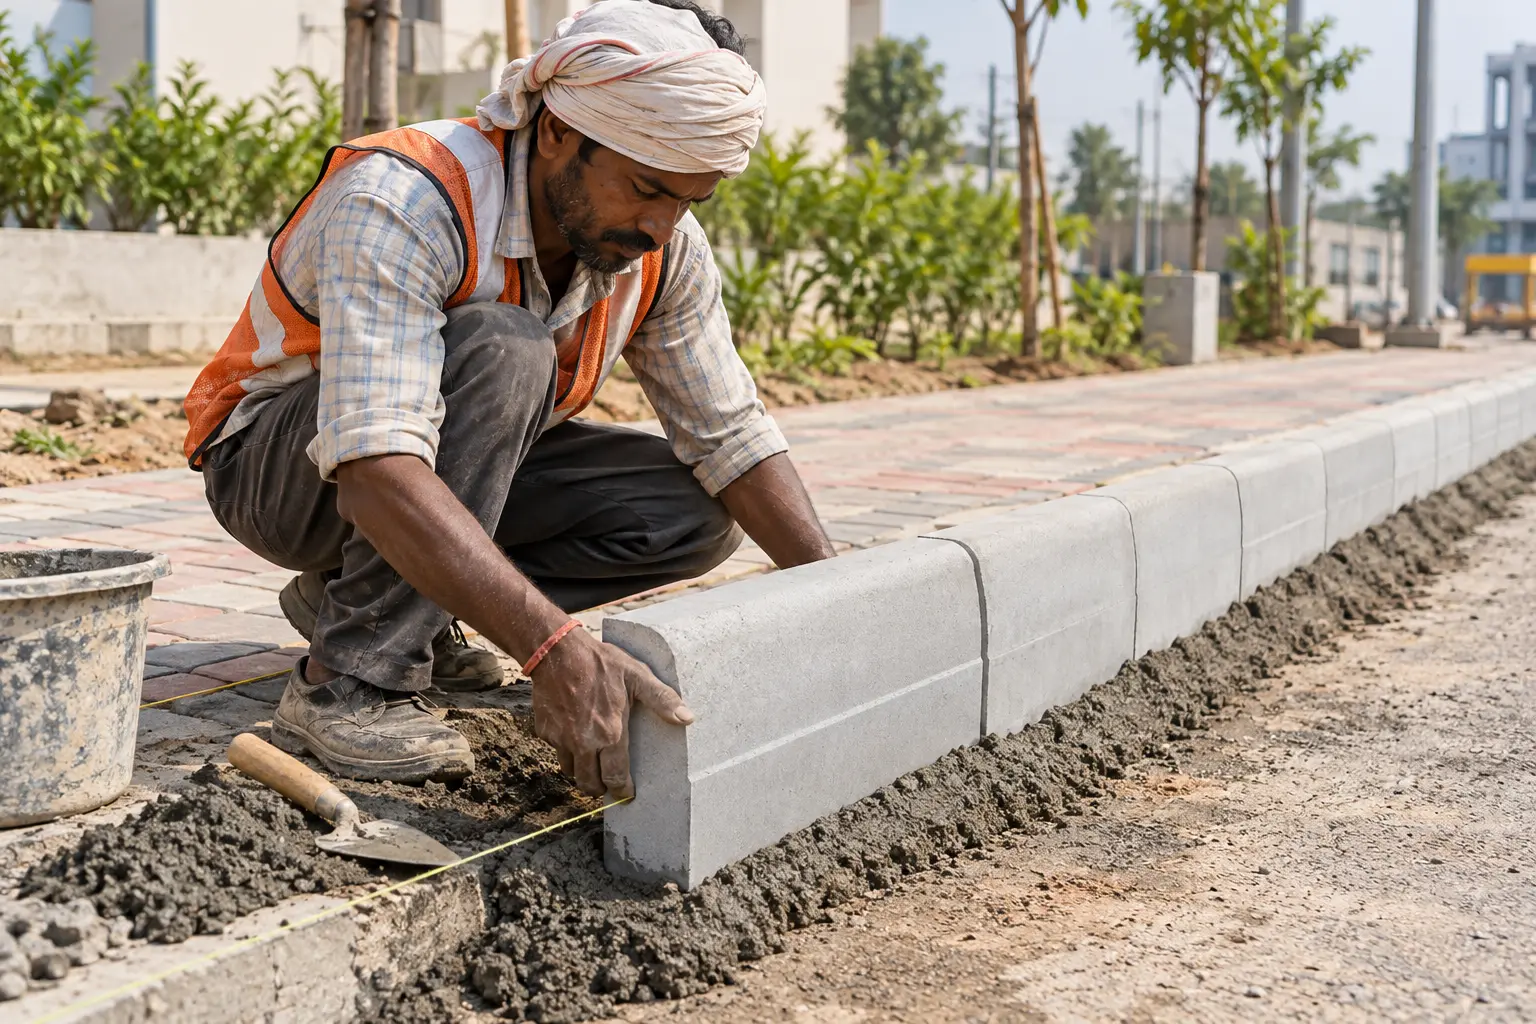
A kerb stone set along a string line to define the paving edge, alongside paver block installation.
The Process, Step By Step
Step 1
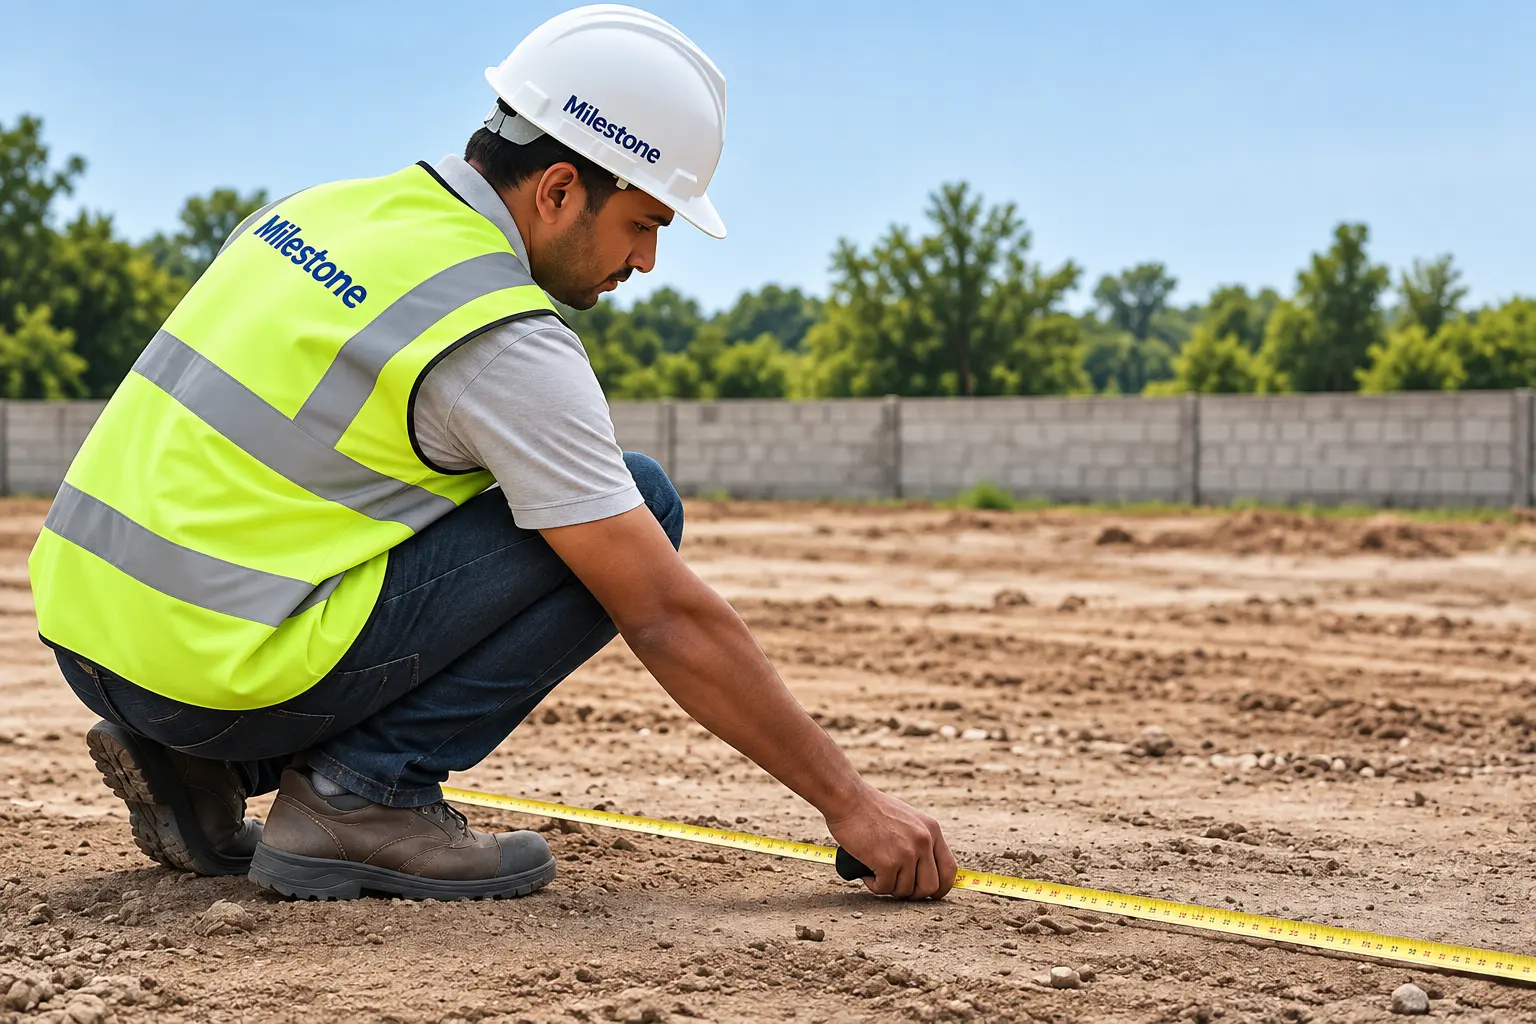
Analyze the surface, confirm the type of surface to be covered and check the number of pavers required.
Step 2
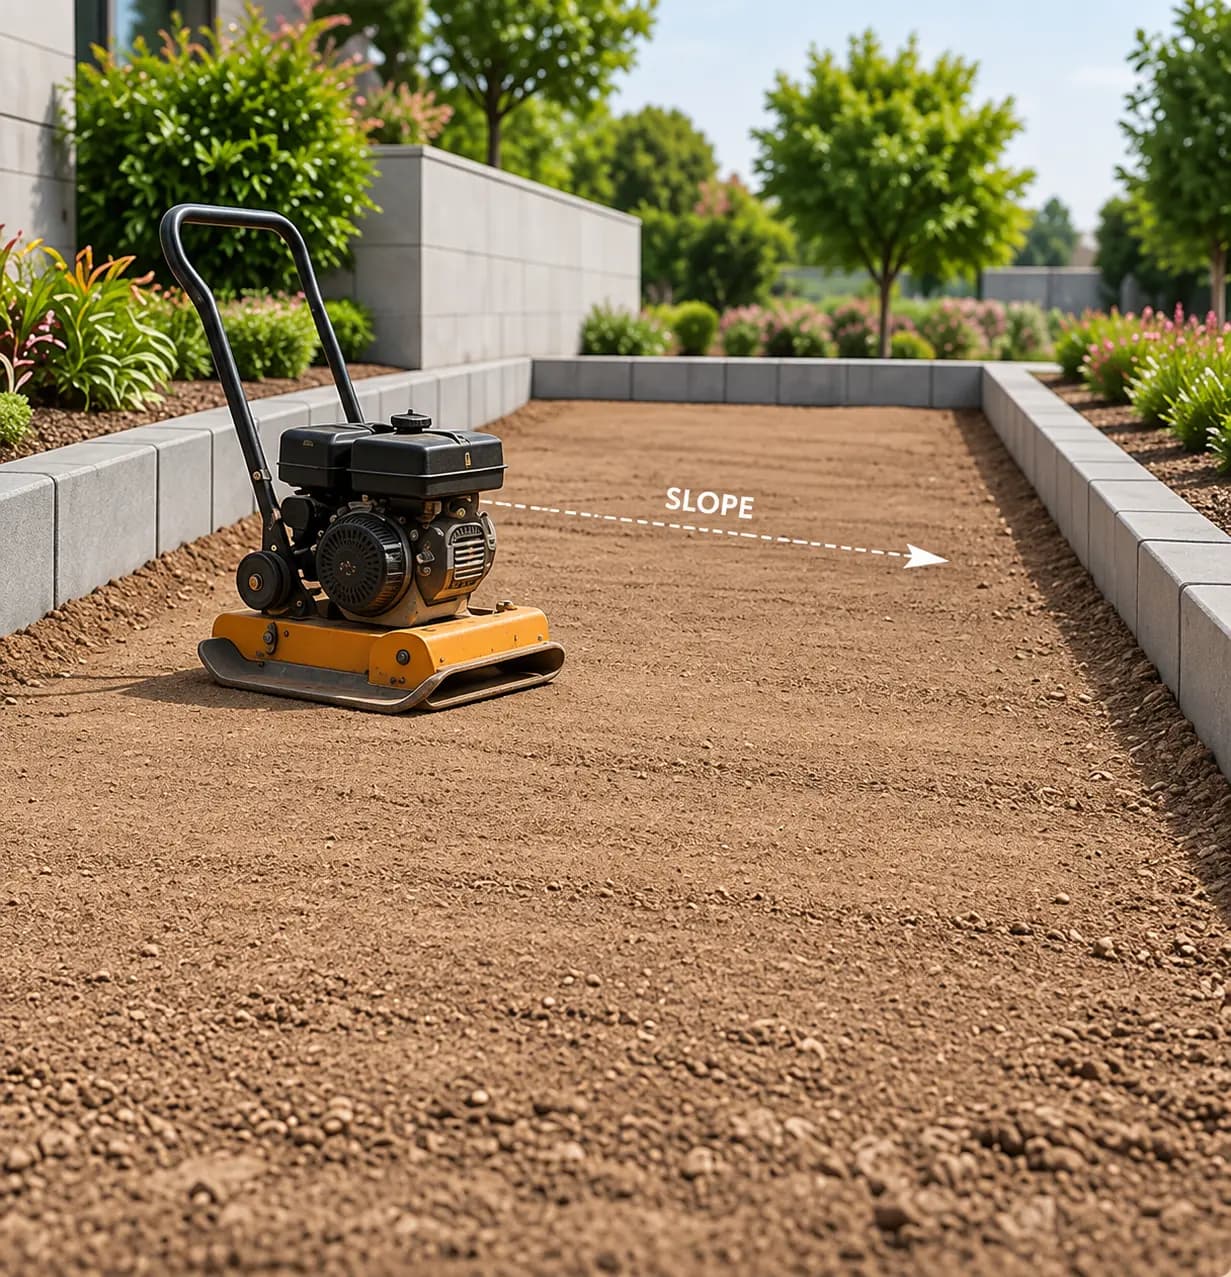
Establish the installation height, level the excavation and keep the required slope for drainage.
Step 3
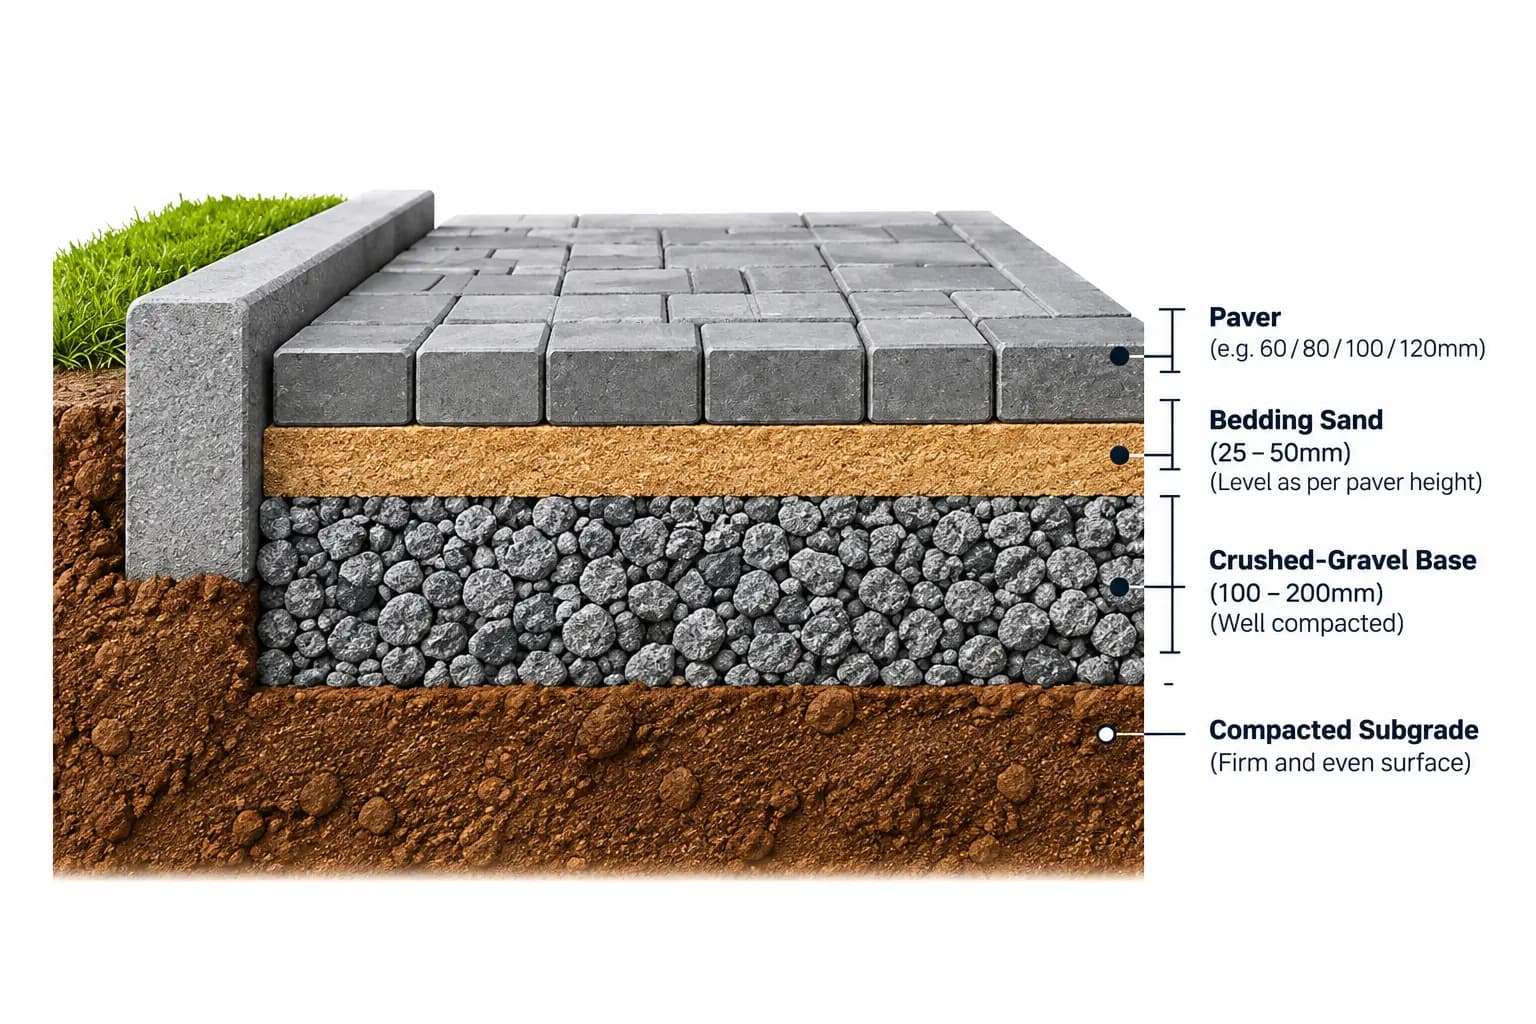
Use a proper crushed-gravel base and keep the bedding level according to the height of the pavers.
Step 4
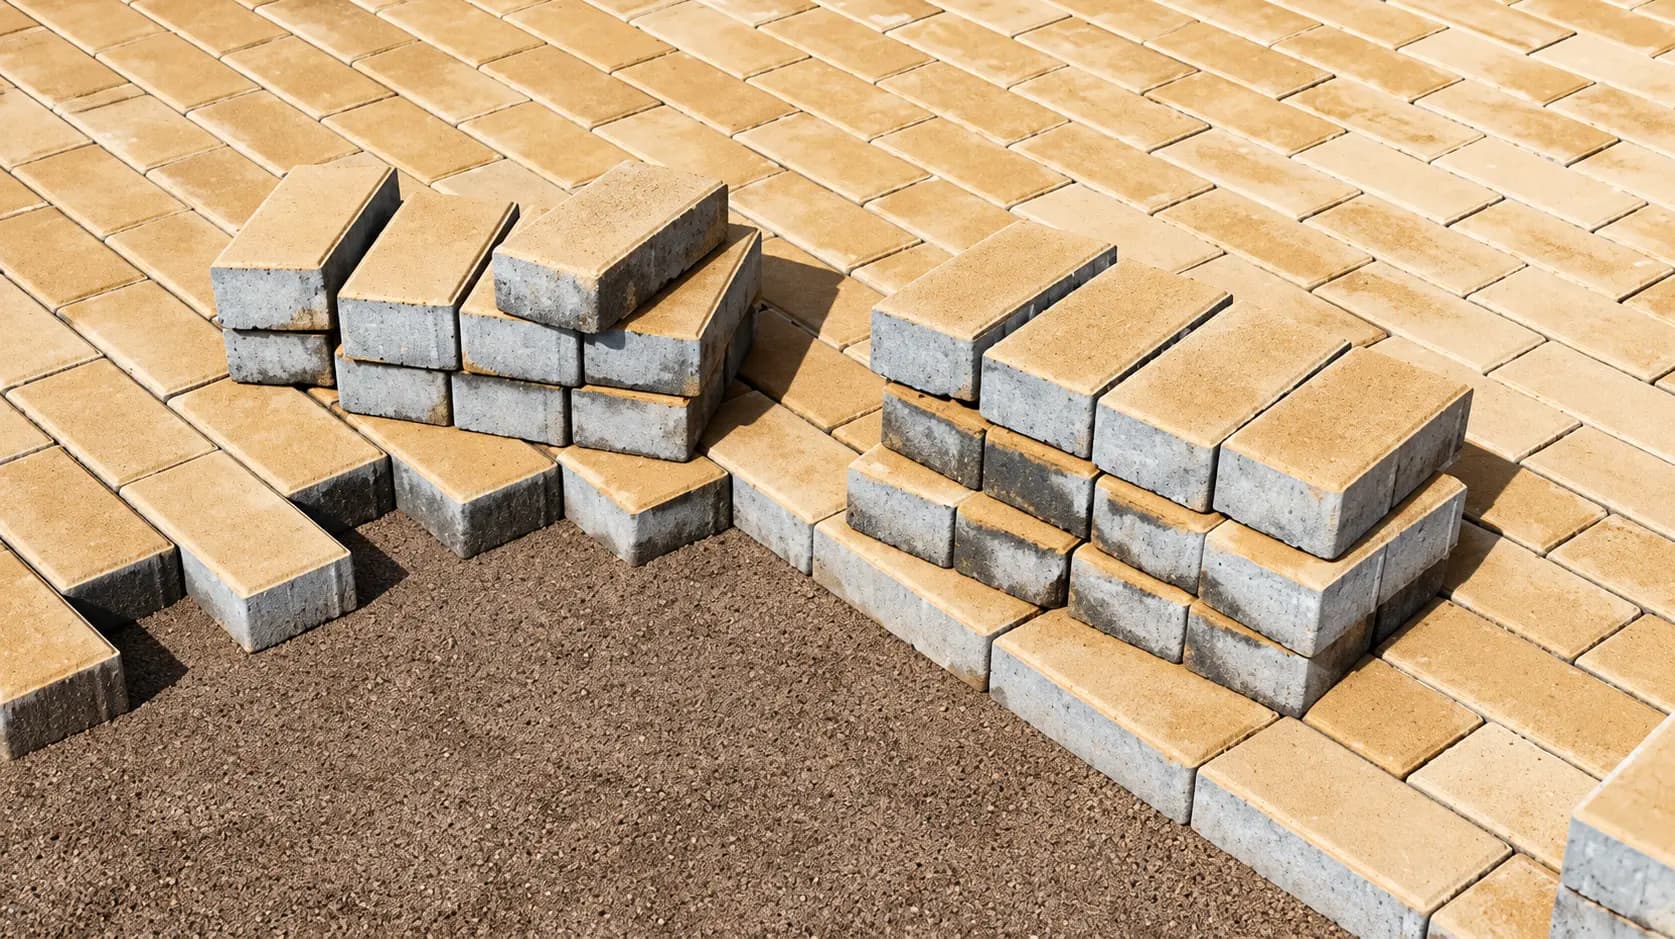
Start laying from the corner as per the design, tap the pavers and compact properly.
Step 5
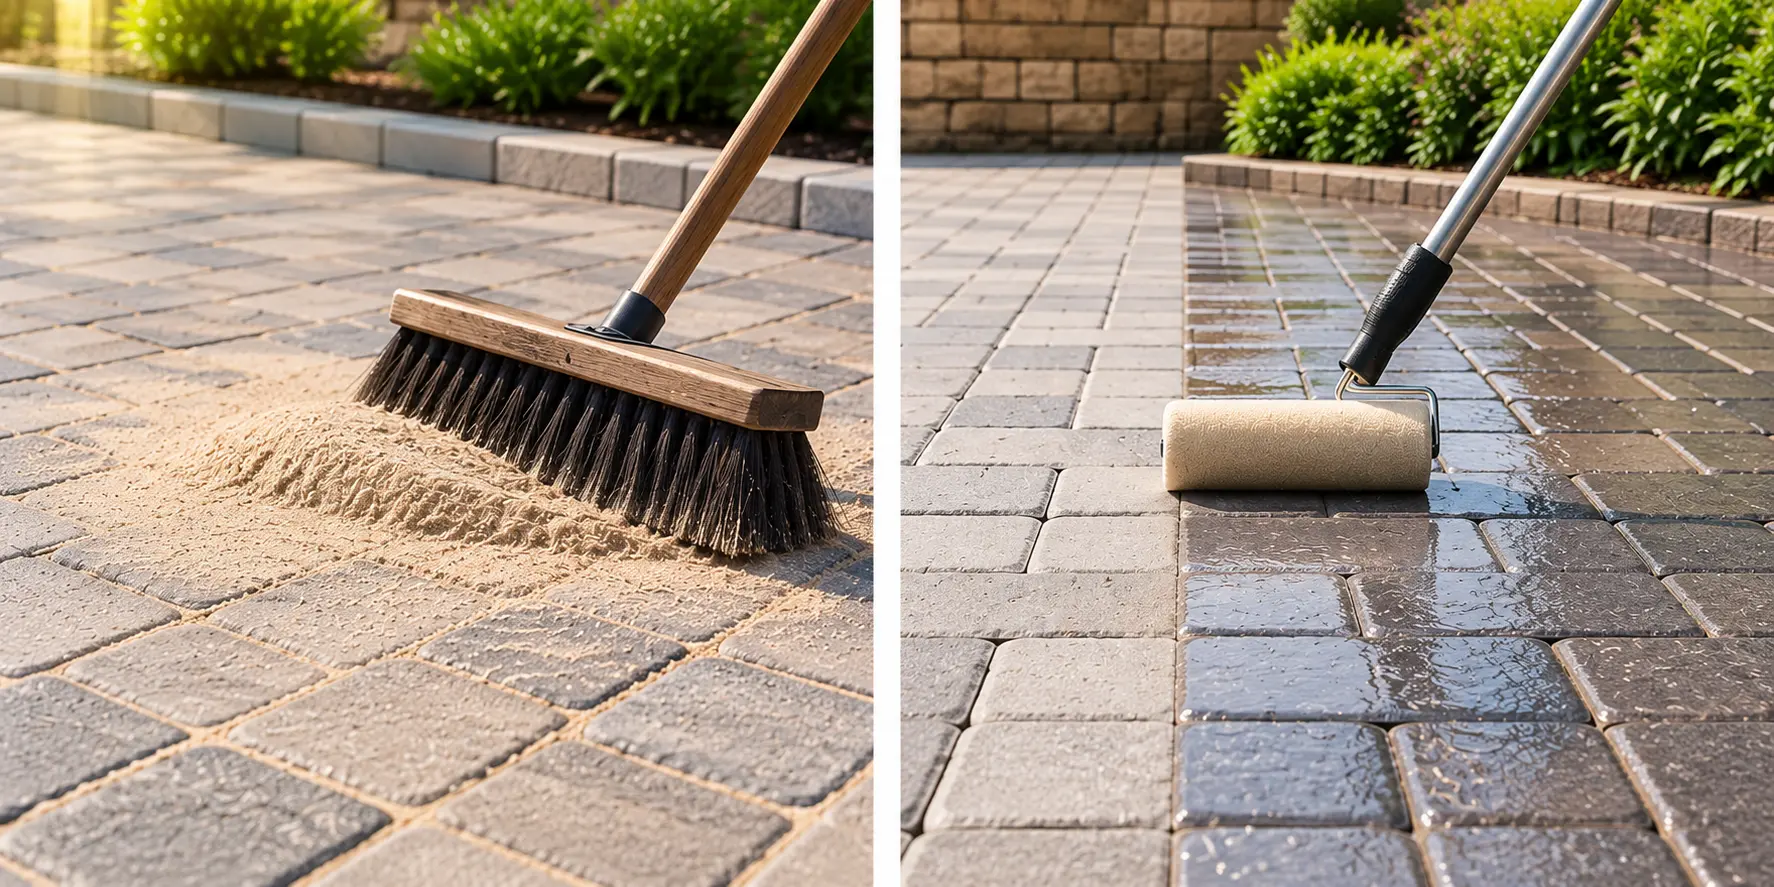
Sweep sand only when the pavers are completely dry and seal joints to help resist unwanted stains and marks.
Frequently Asked
Questions
A properly compacted crushed-gravel base, with the bedding level matched to the height of the pavers you're laying — this is what keeps the finished surface stable and even.
Start from a corner as per your layout design, tapping each paver into place and compacting properly as you go, rather than starting in the middle of the area.
Yes — sweep sand into the joints only once the pavers are completely dry, then seal to help resist stains and marks. See our maintenance guide for ongoing care.
Use our paver calculator with the real coverage values for your chosen product, or share your area and product code with our team for an exact quote.
What To Buy From This Guide
The products this guide is actually about — browse and request a quote directly.